Scala in Gitpod
Welcome, Scala programmer. Today we will show you how to configure Gitpod for your project.
Installing Scala
First, you’ll probably want to install Scala. To do this, add a new file to your repository called .gitpod.Dockerfile, and add the following content to it:
FROM gitpod/workspace-full

RUN brew install scala
Additionally create a file called .gitpod.yml and add the following:
image:
  file: .gitpod.Dockerfile
Now commit both files into source control.
What are these files for?
Let’s break this down. First, in .gitpod.Dockerfile, we declare FROM gitpod/workspace-full to have your project use Gitpod’s default workspace image (recommended). You can use other images too, but some Gitpod features might not work as well with untested images.
Next, we declare RUN brew install scala. This simply installs Scala into the workspace image via HomeBrew.
Then, we register our custom Dockerfile in Gitpod’s configuration file .gitpod.yml, so that Gitpod knows it should pick it up and build it on-the-fly when booting up new workspaces.
Finally, please note that these changes will only take effect in new workspaces. To try out your new automated dev setup, simply commit both files; push them to GitHub; and then open a new Gitpod workspace for your repository. 🚀
Using the Ammonite REPL

To install the Ammonite REPL in Gitpod, you must add the following to our previously-created .gitpod.Dockerfile:
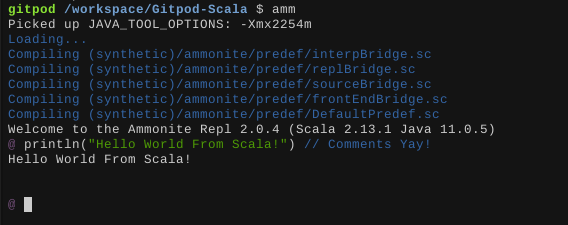
RUN sudo sh -c '(echo "#!/usr/bin/env sh" && curl -L https://github.com/lihaoyi/Ammonite/releases/download/2.0.4/2.13-2.0.4) > /usr/local/bin/amm && chmod +x /usr/local/bin/amm'Then commit the changes and push to your repository. Finally, when you open a new workspace, you will be able to type amm in the terminal, and behold a super cool Scala REPL in your workspace!
Building projects with sbt
To use sbt (simple build tool) in Gitpod, you can add the following to that .gitpod.Dockerfile we created:
RUN brew install sbtAs usual, commit and push the changes, and sbt will be installed in all future workspaces.
Managing Scala versions with scalaenv
Say your project needs a specific Scala version. You can use scalaenv, a version manager for Scala, to switch between different Scala versions. But first, we must install scalaenv. As usual, we need to change our .gitpod.Dockerfile, by adding this to it:
RUN brew install scalaenvThen, say you need Scala version 2.12.11, you would add the following line as well:
RUN scalaenv install scala-2.12.11 && scalaenv global scala-2.12.11Using coursier, an artifact fetcher for Scala
coursier is useful for building certain Scala projects and installing different tools.
RUN brew install coursier/formulas/coursier(Don’t forget to commit and push this change!)
Formatting Scala code with scalafmt
To install scalafmt for your repository, add the following to your .gitpod.Dockerfile:
RUN sudo env "PATH=$PATH" coursier bootstrap org.scalameta:scalafmt-cli_2.12:2.4.2 -r sonatype:snapshots -o /usr/local/bin/scalafmt --standalone --main org.scalafmt.cli.CliThen to format your code simply run scalafmt!
Putting it all together
A full example of a .gitpod.Dockerfile configured for Scala could look something like:
FROM gitpod/workspace-full

RUN sudo sh -c '(echo "#!/usr/bin/env sh" && curl -L https://github.com/lihaoyi/Ammonite/releases/download/2.0.4/2.13-2.0.4) > /usr/local/bin/amm && chmod +x /usr/local/bin/amm'

RUN brew install scala coursier/formulas/coursier sbt scalaenv

RUN sudo env "PATH=$PATH" coursier bootstrap org.scalameta:scalafmt-cli_2.12:2.4.2   -r sonatype:snapshots   -o /usr/local/bin/scalafmt --standalone --main org.scalafmt.cli.Cli

RUN scalaenv install scala-2.12.11 && scalaenv global scala-2.12.11
You will notice that all the brew install commands are on the same line. We recommend grouping similar commands together to minimize the number of Docker layers.
Additionally, your .gitpod.yml file should still look like this:
image:
  file: .gitpod.Dockerfile
VSCode Extensions
Scala Syntax (official)

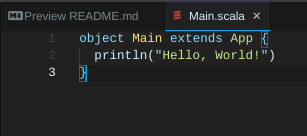
Scala Syntax adds basic syntax highlighting for Scala and sbt files.
To get it, open Gitpod’s Extensions panel (left vertical menu in the IDE), then search for “Scala Syntax”, and install it “for this project”. Then, commit the automatic .gitpod.yml change that was made by Gitpod.
Metals

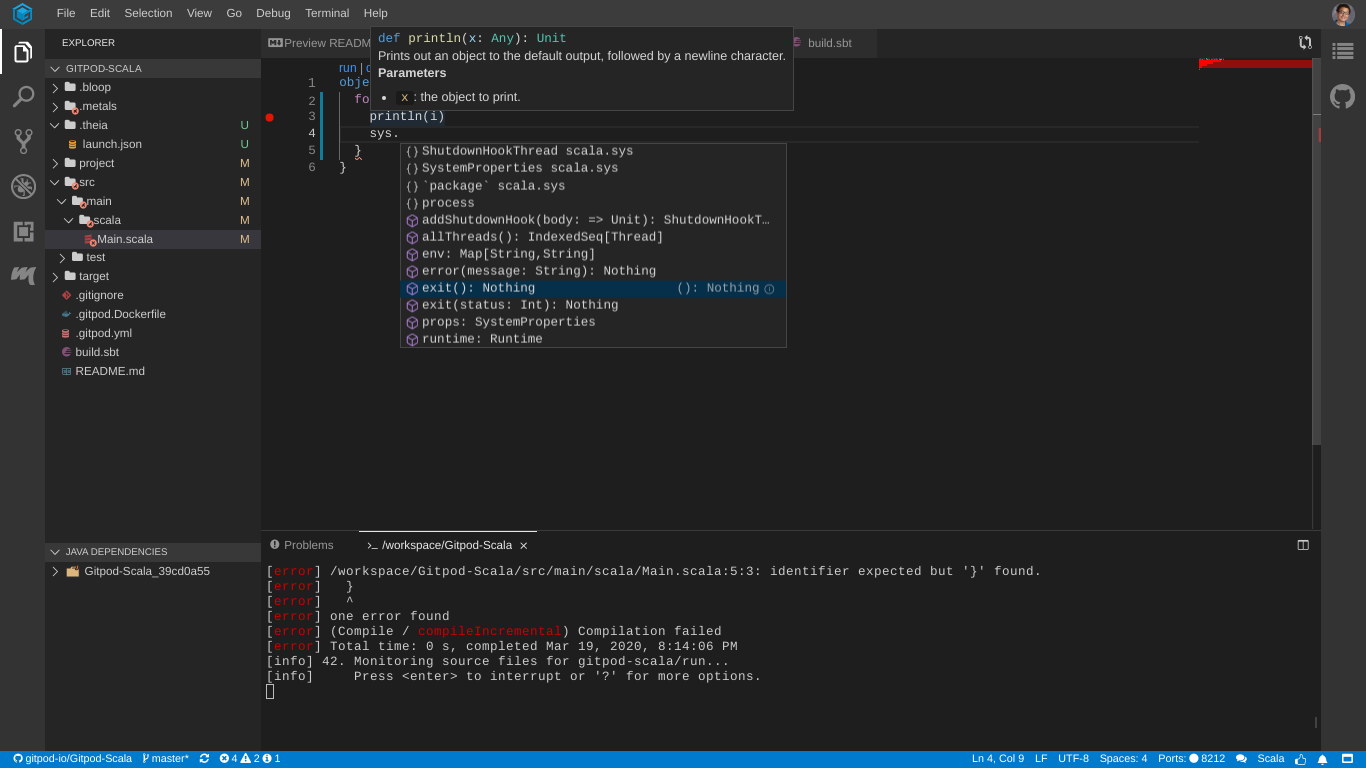
Metals adds helpful Scala features to Gitpod, for example, advanced autocompletion and debugging support just to name a few. Although to use it you must also have the previously mentioned Scala Syntax.
To get it, open Gitpod’s Extensions panel (left vertical menu in the IDE), then search for “Scala Metals”, and install it “for this project”. Then, commit the automatic .gitpod.yml change that was made by Gitpod.
Boom! You’re done! (Just a reminder, don’t forget to push the changes.)
Debugging Scala code
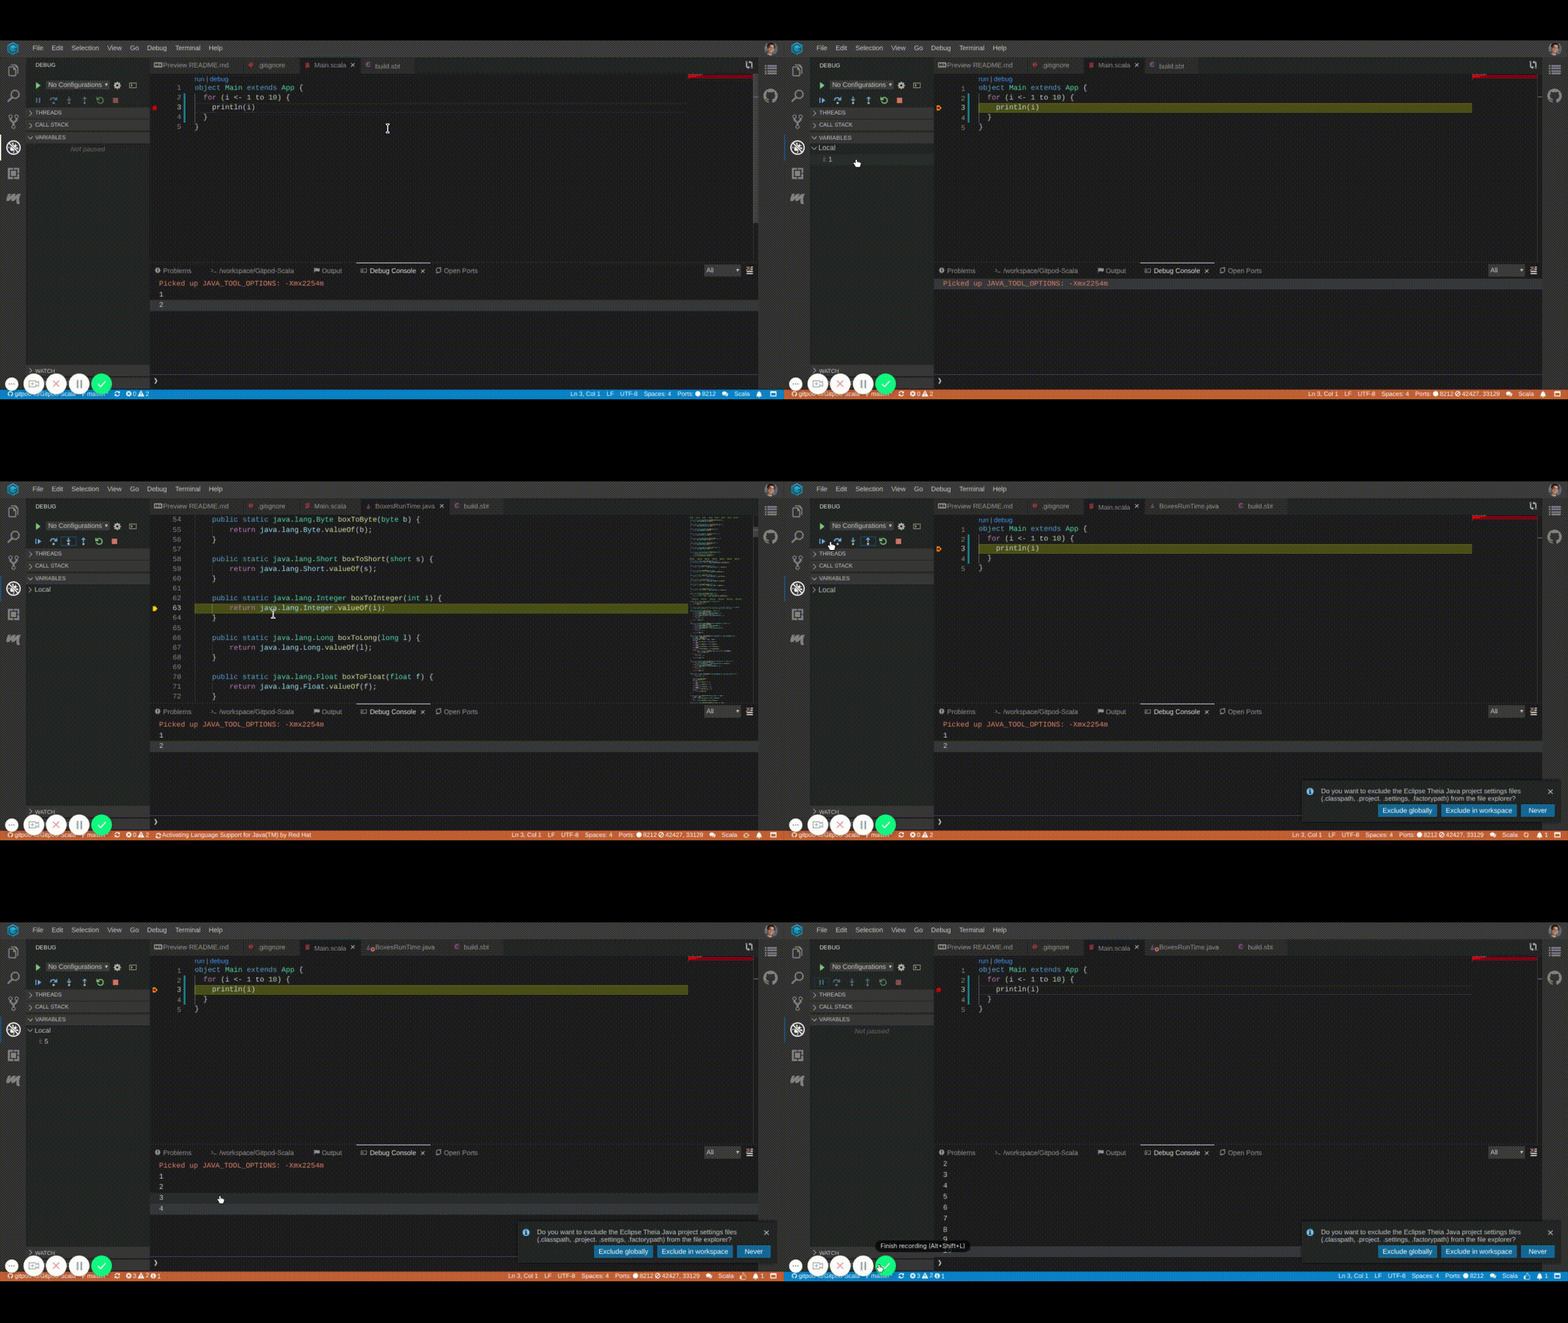
To debug Scala code in Gitpod you should use the Metals extension which we just went over. Here is an example of Scala Debugging in action:

In general when debugging Scala code, go to the main method, and click the Debug button over it! And boom you’re debugging.
Try it!
To see a minimal repository with a Gitpod configuration that installs all the tools we’ve covered, see gitpod-io/Gitpod-Scala. You can try it in your browser:
Need help?
If you are having trouble and need help please find us in the Gitpod community, or, file an issue on GitHub.
Feedback
We love feedback and want to continuously improve all of our guides and documentation. If you found a grammar mistake, or we left out your favorite Scala tool, or you just have general feedback on the guide, please feel free to edit this guide or to file a website issue on GitHub.